Lab: Docker
Goals
Setup
- Create a dockerhub username and password
- Using your Docker hub username and password, login to https://labs.play-with-docker.com/
- Click
+ ADD NEW INSTANCE - Congratulations! You are now in an Alpine Linux instance directly on your browser. Check this by running
cat /etc/*-releasein the command line interface.
Your terminal should say something like [node1] (local) root@123.123.0.12 If it doesn’t refresh your screen or add another instance.
Part 1: Run Commands
The basic docker run command takes this form:
docker run [OPTIONS] [IMAGE:TAG] [COMMAND] [ARG...]In the below exercise we will practice running docker containers with different options or “flags.”
- Currently we have no docker images downloaded. Confirm this with
docker image ls -a.
- Pull down a Dockerhub linux image. Confirm that the image is downloaded with the
lscommand.
docker pull ubuntu
docker image ls -a- Run an interactive container with the bash shell attached. Run a few linux commands to explore your environment and then exit the container.
docker run -it ubuntu bash
ls
whoami
hostname
# exit the container with Ctrl+D or exit
This runs the container in the foreground so you are unable to access the command prompt for your original alpine server. For this reason interactive mode is often used for development and testing.
- Run the container in detached mode and then list all your containers.
docker run -d ubuntu
docker container ls -a
You should see that the ubuntu container was created and then exited. The container ID is shown with an exited status and the command line is still accessible.
Detached containers run in the background, so the container keeps running until the application process exits (which is what happened here), or you stop the container. For this reason detached mode is often used for production purposes.
- Run an nginx web server in detached mode to see what happens when the process doesnt just exit. The image will be automatically pulled from Dockerhub if it is not found locally so there is no need to run
docker pullfirst.
docker run -d -P --name nginx1 nginx:alpine

# -P publishes network ports so you can send traffic into the container
# --name gives the container a name so you can work with it in other commands
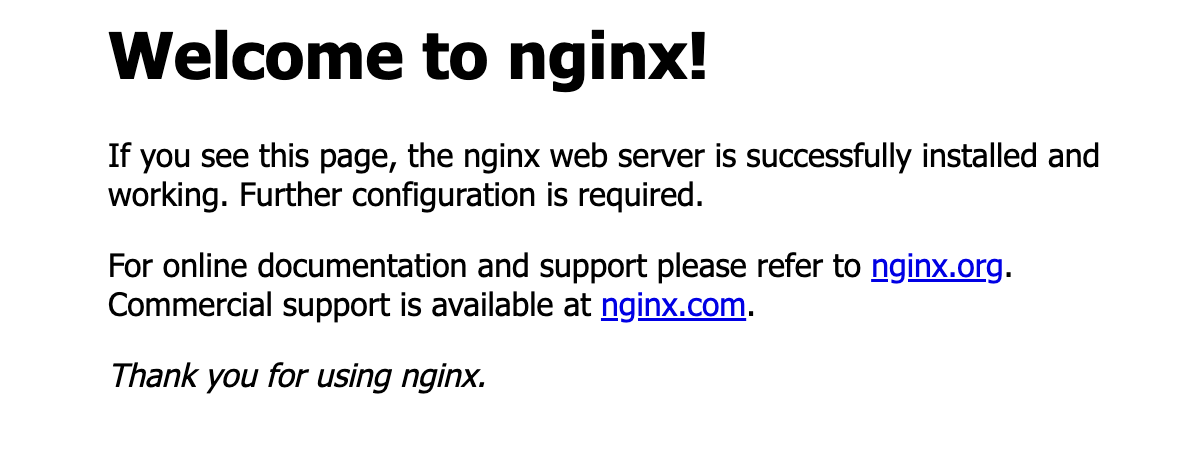
Click on the port button at the top of your page and enter 32768.

This should bring you to the nginx server.

- Examine your container and then stop it.
# check your running containers
docker container ls -a

# you can also check your running processes
docker ps -a

# stop the container using its name
docker container stop nginx1- Run a container with a different linux distro and then automatically remove it. Add an echo command to confirm that the container has actually run.
docker run --rm debian echo "hello world"This mode is usually used on foreground containers that perform short-term tasks such as tests or database backups. Since a container is ephemeral, once it is removed anything you may have downloaded or created in the container is also destroyed.
Check to see that the container was completely removed. You shouldnt see the debian container in the output at all.
docker container ls -aPart 2: Debugging Containers
The docker exec command is very similar to the docker run -it command. Both are very helpful for debugging containers as they allow you to jump inside your container instance. The exec command needs a running container to execute any command, whereas the -it flag starts a container and places you into a terminal in interactive mode. Use the docker exec command to execute a bash command in a running container. This can be used to execute any command within a running container.
Be careful not use docker exec to change your container as once it is deleted you will lose any changes you’ve made!
docker exec requires two arguments - the container and the command you want to run.
docker exec [OPTIONS] CONTAINER [COMMAND] [ARG...]- Use
docker run -itto jump into an ubuntu container.
docker run -it ubuntu
exit- Use
docker execto run commands in a container
docker container ls -a # to get a container ID of a running container
docker exec -it CONTAINER_ID bash
exit
docker exec CONTAINER_ID ls - Lets run a detached MySQL container and then check out some logs. The database requires a password to work.In production you should never pass credentials directly in your command but we will do it for testing purposes. (The forward slashes below allow you to use a new line for your code)
 docker container run -d --name mydb \
 -e MYSQL_ROOT_PASSWORD=my-secret-pw \
 mysql

docker container logs mydb
Part 3: Mapping Ports
- Pull two versions of the same image
docker pull httpd:alpine
docker pull httpd:latest- Inspect ports.
docker inspect  httpd:latest
docker inspect httpd:alpine- Map two different host ports to the same application port for the two containers.
docker run -d -p 3456:80 --name httpd-latest httpd:latest
docker run -d -p 80:80 --name httpd-alpine httpd:alpine
docker ps
Part 4: Mounting Data
- Stop your running containers with
docker stopand return to your original command prompt. - Create a text file.
touch test.txt # create a text file
echo "this is a test file" > test.txt # redirect string to the file
cat test.txt # confirm that the echo command worked- We want to add this file from our host machine into a separate Ubuntu container.
pwd # to see where the test.txt file is located on your host machine

docker run -it -d -v /root:/data ubuntu # mount a shared volume to a folder in the container called "data"

docker exec -it CONTAINER_ID bash

ls # see what folders are in the container

cd data # move to the newly created data directory

ls # confirm that the text file is there
In order to get data in or out of a container, you need to mount a shared volume (directory) between the container and host with the -v flag. You specify a host directory and a container directory separated by :. Anything in the volume will be available to both the host and the container at the file paths specified.
Part 5: Building images interactively
- Exit out of your container from the previous exercise with
exitand confirm that the container is still running. This container should have the new directory and text file. - Run
docker diff CONTAINER_IDto see the difference between the base image and the new container. You should see the new data folder, - Login to docker hub in your instance using
docker loginand enter your username and password. - Commit the changed ubuntu image and give it a new name like
ubuntu_text.
docker commit CONTAINER_ID ubuntu_text
docker image ls # to check the new image is available- Tag and push the image to dockerhub. Login to docker hub to see your saved and shareable image!
docker tag ubuntu_text docker_hub_username/ubuntu_text
docker push docker_hub_username/ubuntu_text
Part 6: Building Shiny Server OS with Dockerfile
Best practice is to create a Dockerfile so that any changes to your image can be documented.
- Create a Dockerfile (no file extension needed)in your instance with
touch Dockerfileand add the following to it.
touch Dockerfile
vim Dockerfile
# press i to enter insert mode

FROM rocker/shiny:4.3.1
CMD ["/usr/bin/shiny-server"]

# press escape
:wq # to save and exit
Build the image with
docker build -t my_server .wheremy_serveris the name of your new imageRun your container with
docker run -d -p 3838:3838 my_serverthe -p flag maps a port from the host to a port in the container.
this gives us the ability to access the services running inside the container
example: `-p 8080:80` maps port 8080 on the host to port 80 in the container.
in our code we use port 3838 because that is the port that Shiny Server uses by default.
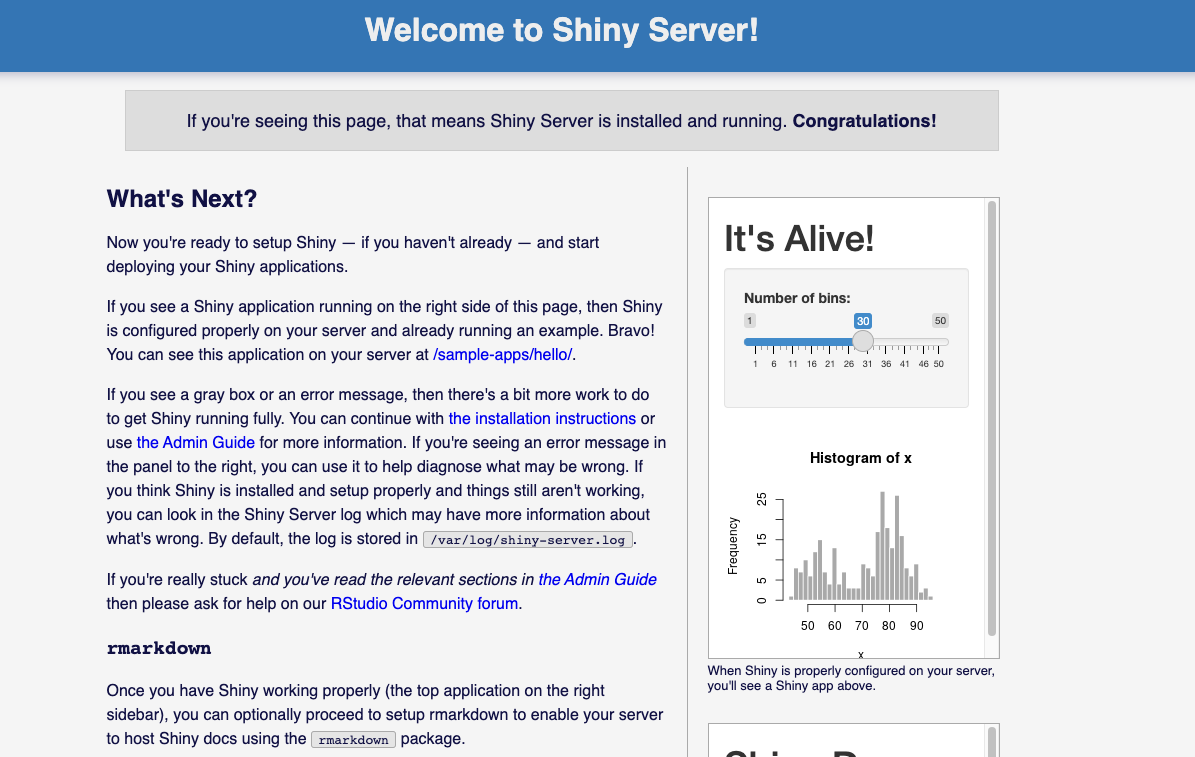
A port number will appear - click on it to access the home page of Shiny Server!

You should see something like this:

We want to change the home page and have it show an app of our choosing instead. Exec into your container and let’s find where the information for the home page is stored.
# get the container ID or name
docker container ls

# execute into the bash shell in your container
docker exec -it CONTAINER_ID bash

# list your folders
ls

#this will show you all the server executables for basic shell commands. See if you can find those you've used like touch
cd usr/bin
ls

# look at the code for the home page,. Notice where the sample "It's Alive" and "Shiny Doc" apps on the home page are being pulled from
cd /srv/shiny-server
ls
cat index.html

# look at the configuration file for the server
cd /etc/shiny-server
cat shiny-server.conf - Let’s delete the home page and the sample apps in the server.
sudo rm /srv/shiny-server/index.html
sudo rm -rf /srv/shiny-server/sample-apps
# refresh your shiny server webpage
Notice how the server home page now has a directory of the apps that live in /srv/shiny-server. Recall how the configuration file had directory_index turned on.
- Let’s create a basic shiny app and then rebuild our image. We will move our app to the server in our Dockerfile instead of on the fly in our run command.
exit
docker container ls
docker container stop CONTAINER_IT
mkdir apps
cd apps
touch app.R
vim app.R
# press i to insert the following code

library(shiny)

# Define UI for application that draws a histogram
ui <- fluidPage(

    # Application title
    titlePanel("Old Faithful Geyser Data"),

    # Sidebar with a slider input for number of bins
    sidebarLayout(
        sidebarPanel(
            sliderInput("bins",
                        "Number of bins:",
                        min = 1,
                        max = 50,
                        value = 30)
        ),

        # Show a plot of the generated distribution
        mainPanel(
           plotOutput("distPlot")
        )
    )
)

# Define server logic required to draw a histogram
server <- function(input, output) {

    output$distPlot <- renderPlot({
        # generate bins based on input$bins from ui.R
        x    <- faithful[, 2]
        bins <- seq(min(x), max(x), length.out = input$bins + 1)

        # draw the histogram with the specified number of bins
        hist(x, breaks = bins, col = 'darkgray', border = 'white',
             xlab = 'Waiting time to next eruption (in mins)',
             main = 'Histogram of waiting times')
    })
}

# Run the application
shinyApp(ui = ui, server = server)

# press escape
:wq to save

##docker run -d -p 3838:3838 -v ./apps:/srv/shiny-server my_server # my_server is the name of the docker image that you built- Update our Dockerfile
cd /root
vim Dockerfile
# press i to insert code

FROM rocker/shiny:4.3.1
# comes preinstalled with a bunch of packages

RUN apt-get update && apt-get install -y \
    libcurl4-gnutls-dev \
    libssl-dev

RUN R -e 'install.packages(c(\
              "shiny", \
              "palmerpenguins", \
              "shinydashboard", \
              "ggplot2" \
            ), \
            repos="https://packagemanager.rstudio.com/cran/__linux__/jammy"\
          )'

COPY ./apps/* /srv/shiny-server/

CMD ["/usr/bin/shiny-server"]- Rebuild the dockerfile with a new name
docker build -t new_app .- Run the container. Make sure to stop the previous container first as it was already using the port 3838.
docker run -d -p 3838:3838 new_app